A multilingual website is any website that offers content in more than one language. Examples of multilingual websites might include a Canadian business with an English and a French version of its site, or a blog on Latin American soccer available in both Spanish and Portuguese.
Usually, it makes sense to have a multilingual website when your target audience consists of speakers of different languages. If your blog on Latin American soccer aims to reach the Brazilian audience, you may choose to publish it only in Portuguese. But if you’d like to reach soccer fans from Argentina also, then providing content in Spanish could help you with that.
When we want to create online presence in more than one language, we can use the the Language Selection application to ensure that our visitors can jump from one language version of a page, and land at the same page in the alternate language. The Language Selection Application can be setup in a few simple steps.
1. First, we need to create a separate language-account for each language that you want to use.
To replicate the original site pages, in Left menu click on My Account > Duplicate Site.
Update the Location and Encoding in your new language account.
Swap out the original language content on the Duplicate site with the translated content.
2. Each account will require its own domain (or subdomain).
domains: "yourdomain.com" and "yourdomainfr"
subdomains: "en.yourdomain.com" and "fr.yourdomain.com".
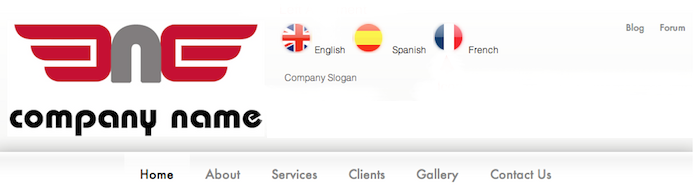
3. Once you have set up the accounts for each language version that your site will be displayed in, you need to install the Language Selection application on each of these accounts. Once installed, the language selection interface can be added to the page form Left menu by clicking on My Add-Ons > Language Selection, and drag-and-drop the element to the blue area on the page. The Language Selection Panel will then appear.
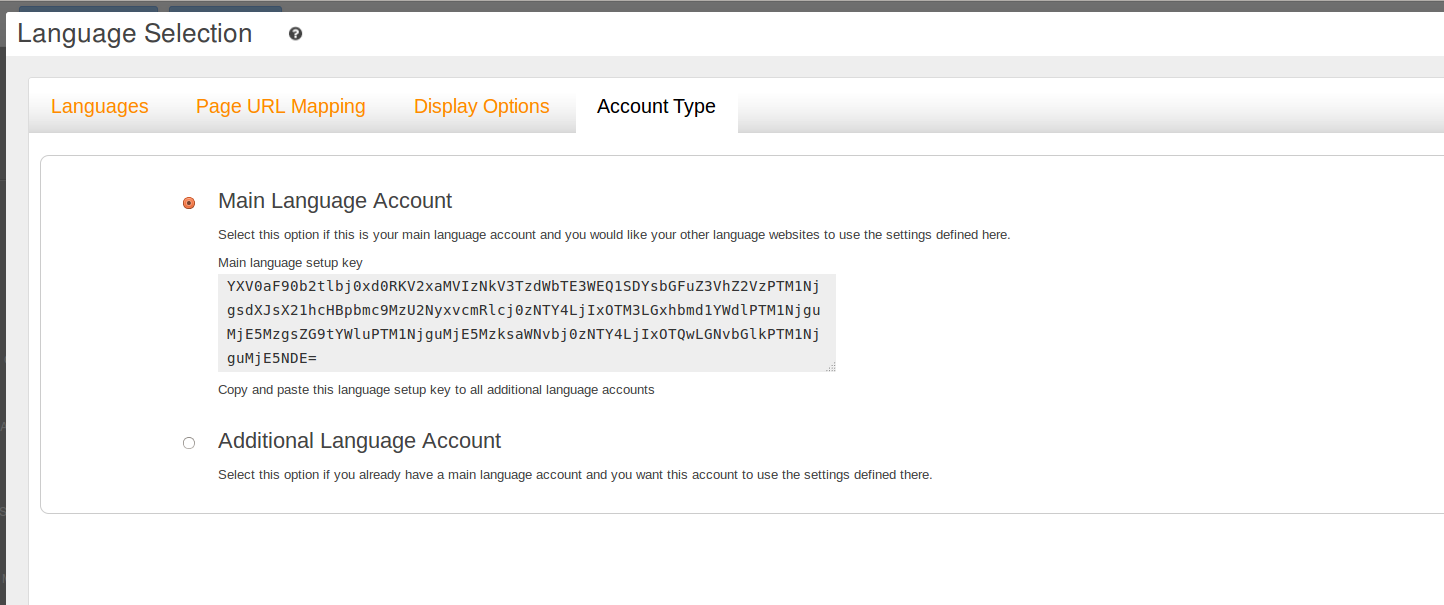
One of your accounts will function as the primary or Main Language Account - from where all configuration will be done. To simplify your account administration, we suggest you use your main account for this purpose. The Main Language Account will contain a setup key that will plugged into the application on your Additional Language Accounts.
The other accounts (up to 6) will each be configured as an Additional Language Account. For each account, you will need to install the application, add it to the site, and enter the setup key from your Main Language Account. In order to make switching between accounts simple and consistent, we recommend you add the language selection interface element to the same location in each language version.
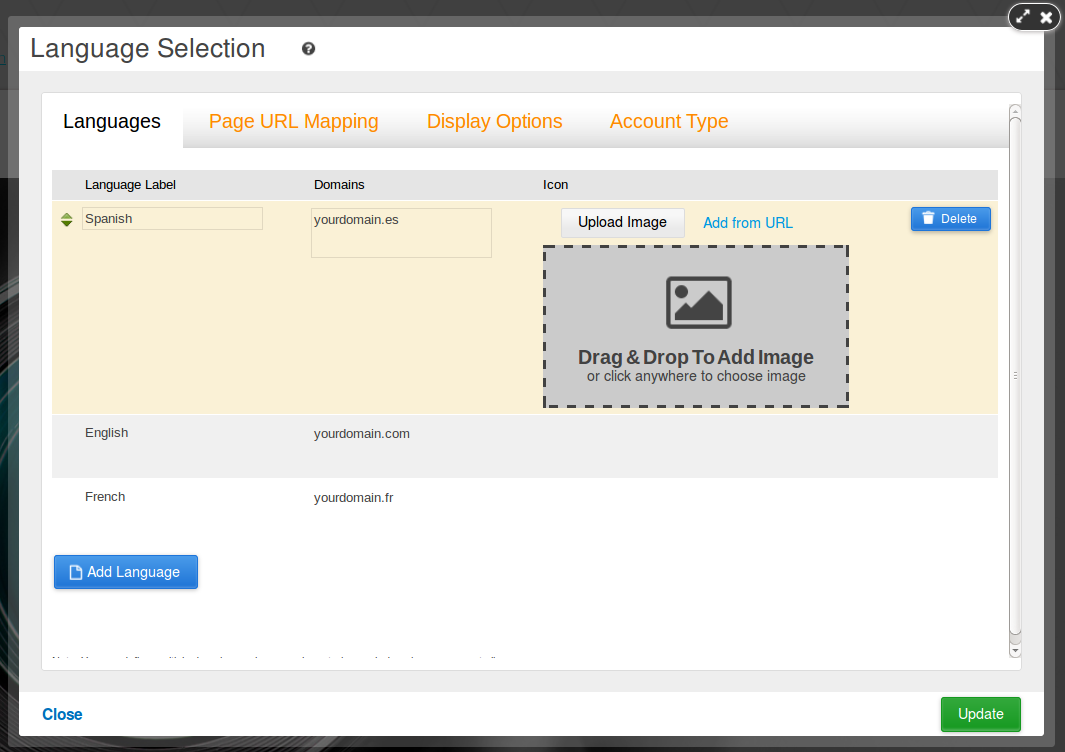
4. In the Languages Tab we can set the Language Label, domain, and Icon image.
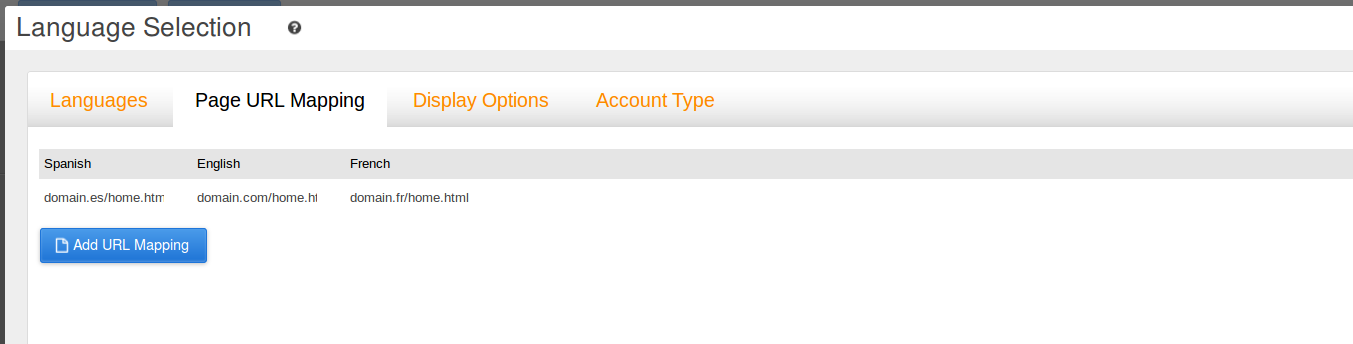
5. The Page URL Mapping tab is where we can define the mapping of different page address URL's. Pages that have the same URL (following the domain) DO NOT need to be Mapped. For example:
yourdomain.com/page.html
yourdomain.es/page.html
yourdomain.fr/page.html
If the URLs are different, we need to create Page URL Mapping to link the pages. For example:
yourdomain.com/home.html
yourdomain.es/home.html
yourdomain.fr/home.html
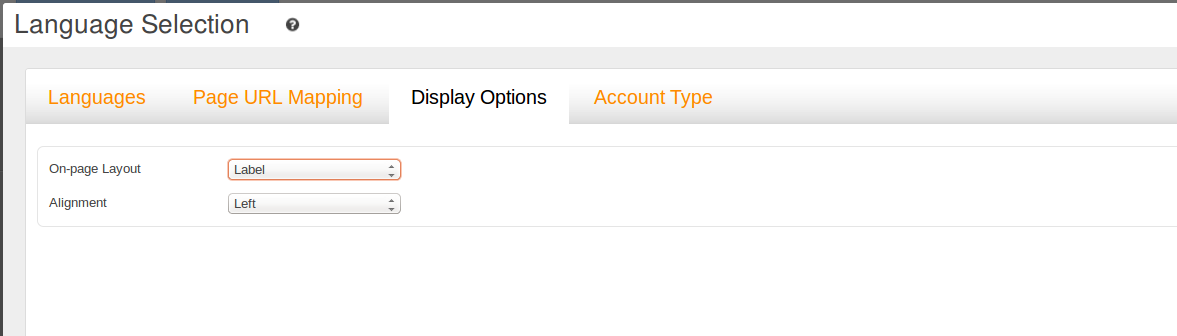
6. The Display Options tab allows us to select the applications Alignment and On-Page Layout.
Here is an example of how the On-page Layout and Alignment affect the appearance of the Language Selection Application.