Adding tables allows you to structure any content added from the Text and Images editor.
To add a table to one of your pages:
1. Open a Text and Images editor and click the Insert Table icon from the toolbar. Your table is created with 1 row and 2 columns.

2. Click Elements from the left-hand menu, and then expand Tables and Lists. Click on the table element you want to add, and then drag-and-drop the table on the page.

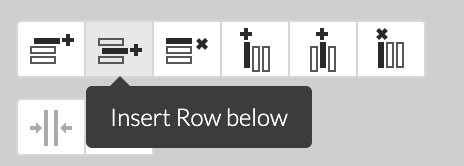
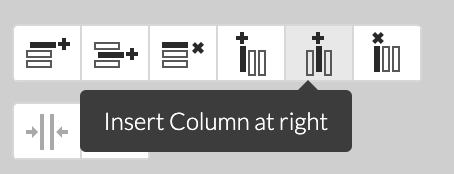
Add more Rows and Columns to your table click inside an existing table cell, select the table icon, and then select the appropriate action.
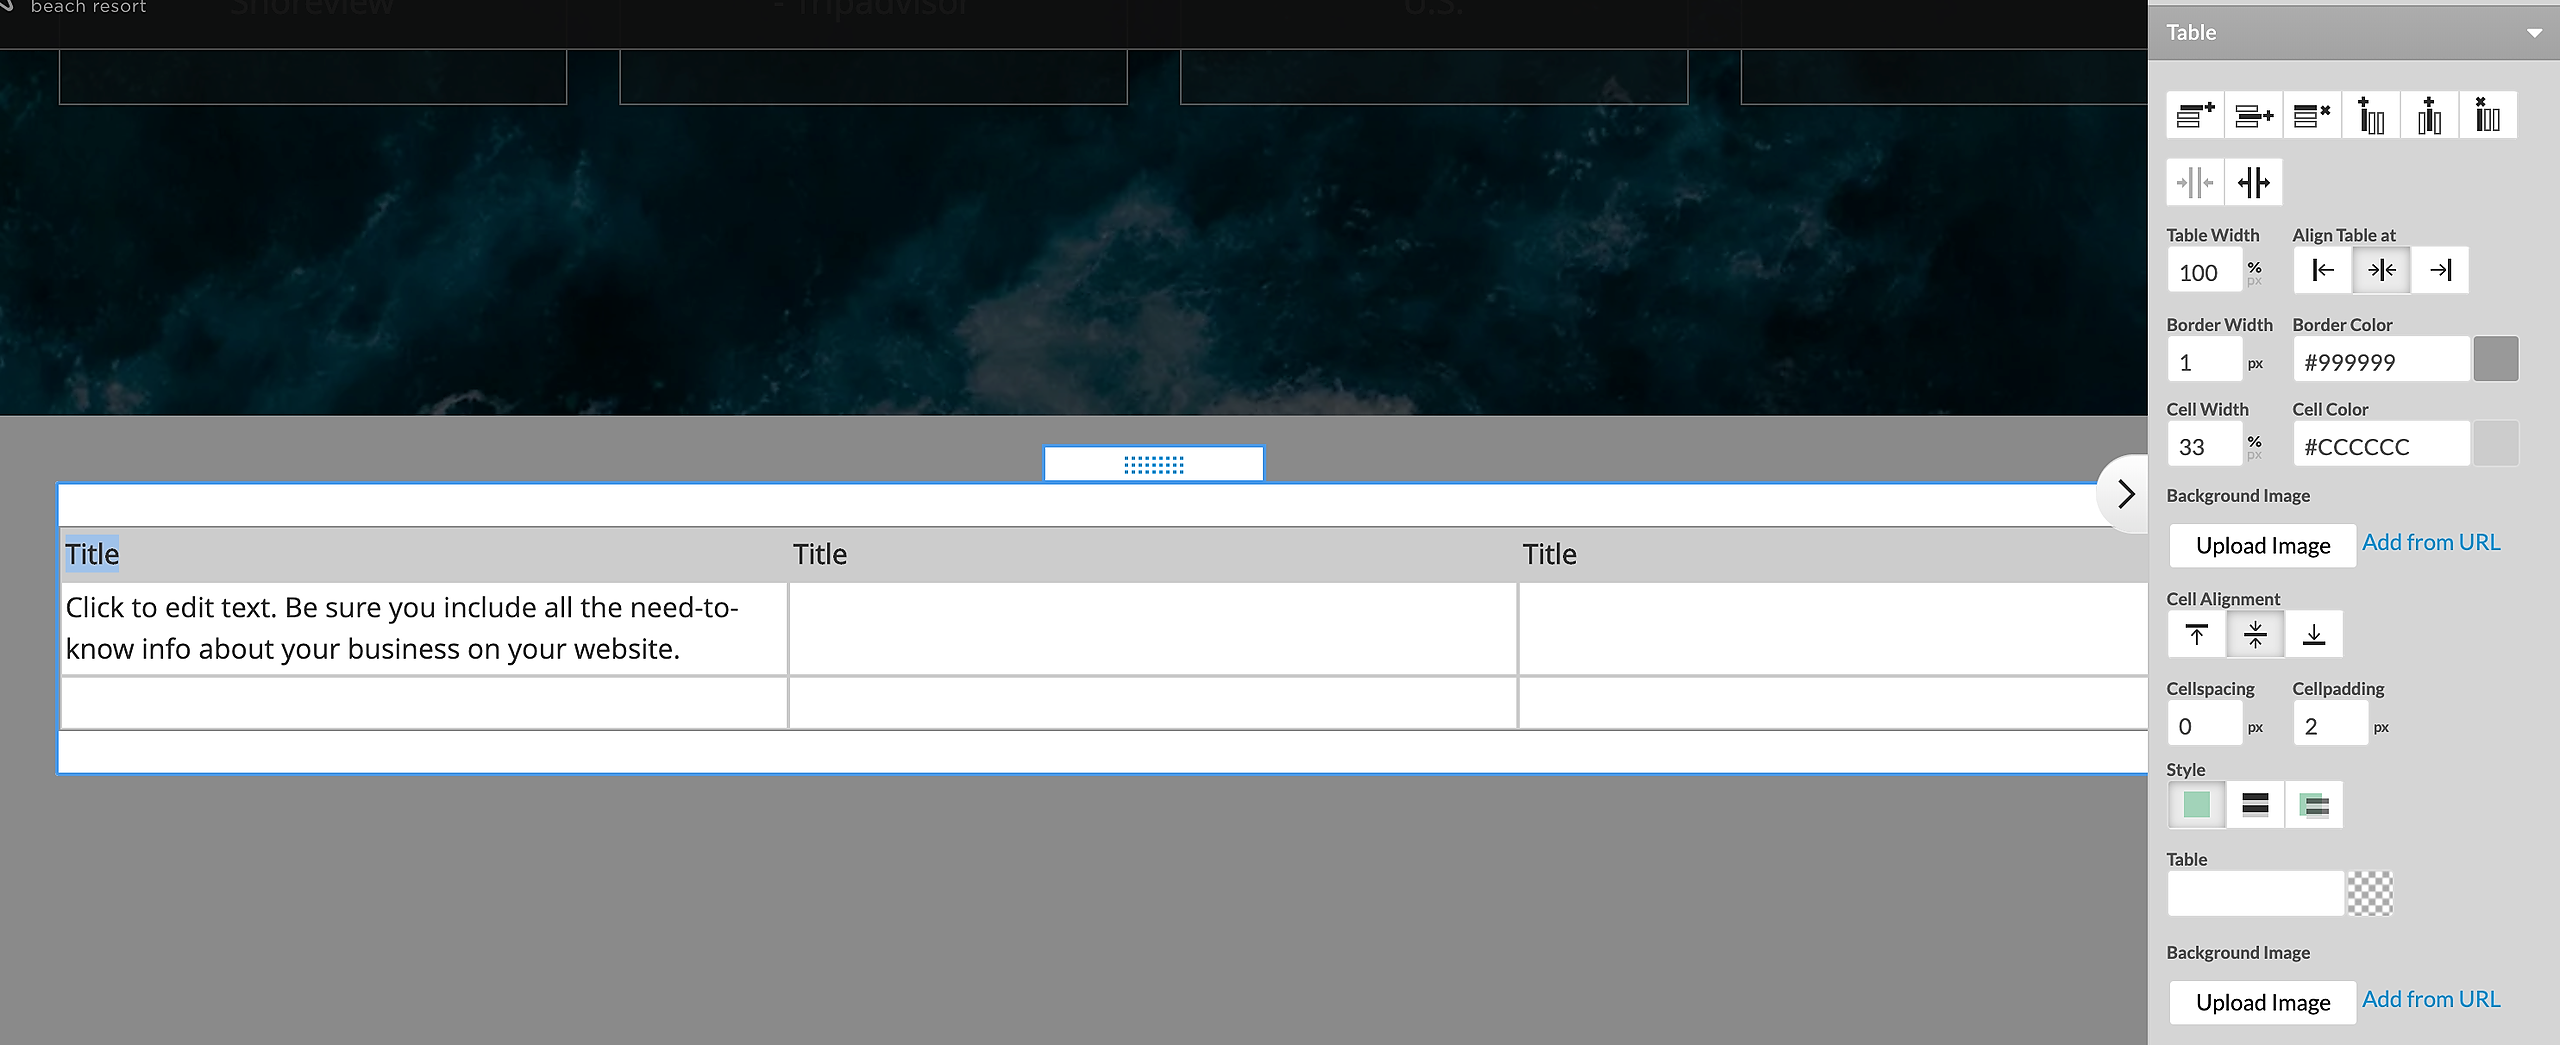

Insert Row above
Insert Row below
Insert Column at right
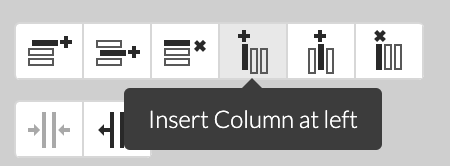
Insert Column at left
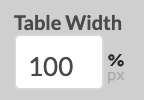
You can set a Table Width using percentage dimensions. With dimensions set in %, the width of your table will not be fixed - it would be set as a percentage of the text area width which may vary in different screen resolutions.
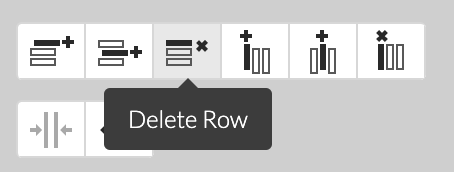
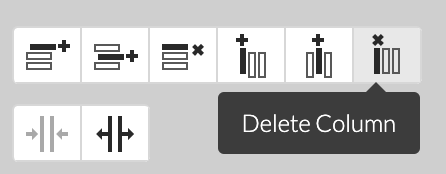
To delete Row or Column:
Click a cell in the Row to remove. Click Delete Row
Click a cell in the Column to remove click Delete Column
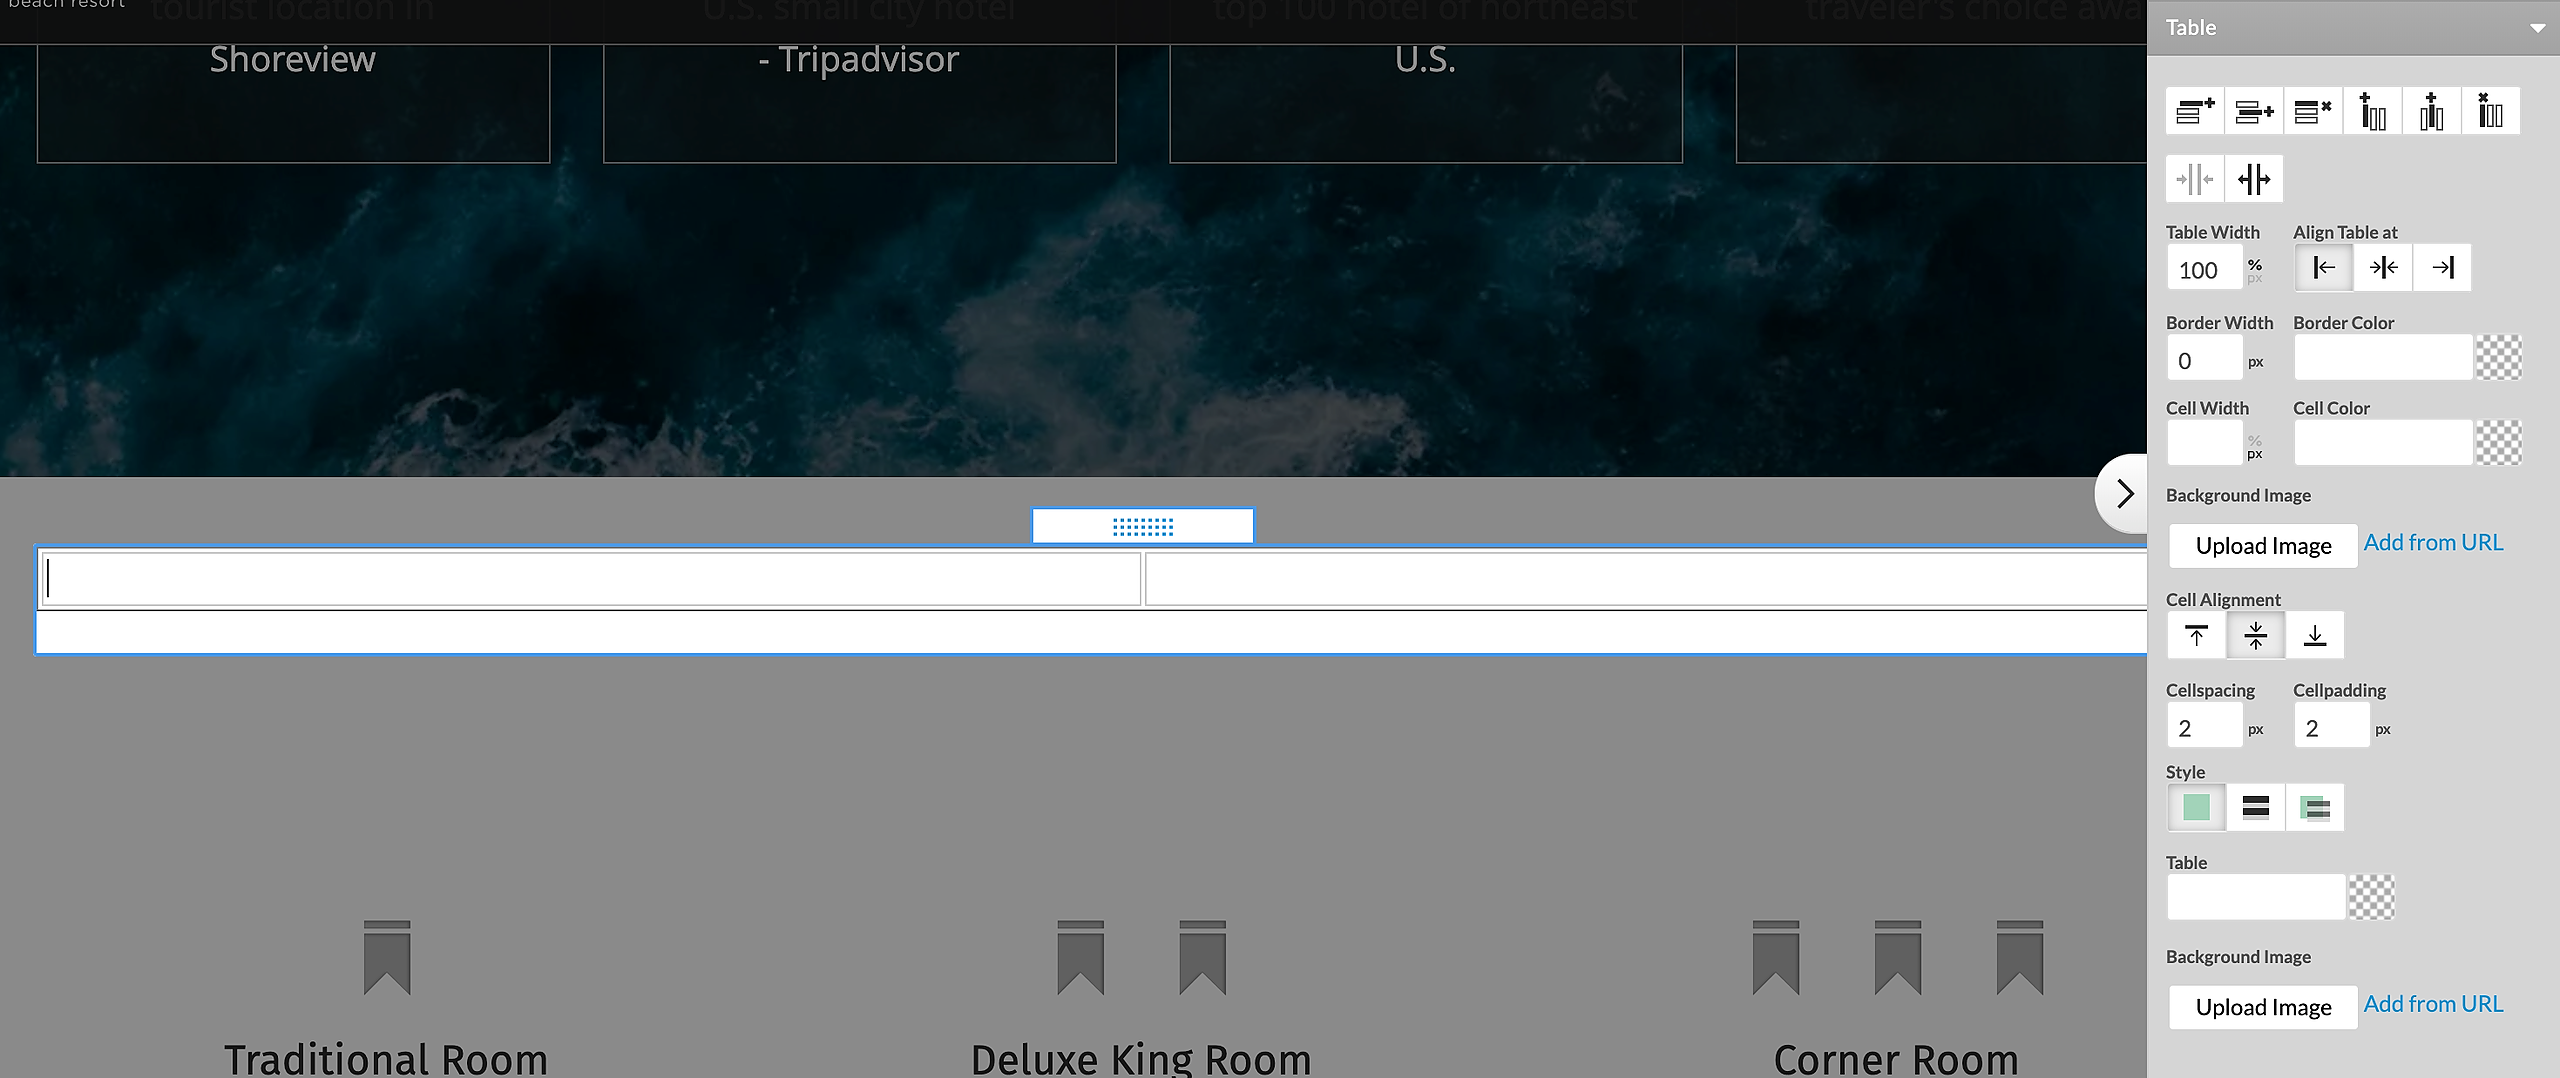
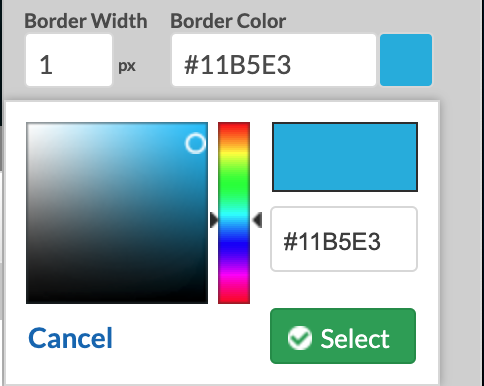
The table options allow you to specify the table width, add a border, align the table within the page.The Border Width is set to 0px by default. You can add a Border to your Tables by specifying the Border Width in pixels and selecting the desired border color by clicking in Border Color field to the right. Clicking on the Border Color field will open a Color Picker where you can Apply or remove the border color. When you select a color, its Hex value code appears in the field. If you know the hex value of your desired color you can select the color by inputting its value there and then click on Select button. To remove the selected color, erase the hex value from Color Picker and click on select button.
To change the spacing between the cells adjust the Cellspacing in pixels. To change the amount of space between the contents of the cell and the cell wall, use the Cellpadding option. Here is how the cellspacing and cellpadding will affect the appearance of your table cells:
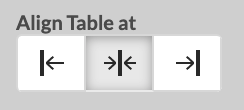
Use the Align Table at options to indicate where the Table should be located within the available space on the page - Left, Center, Right.
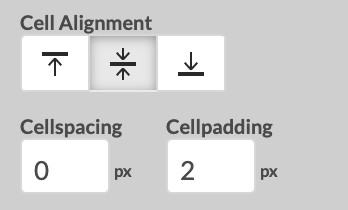
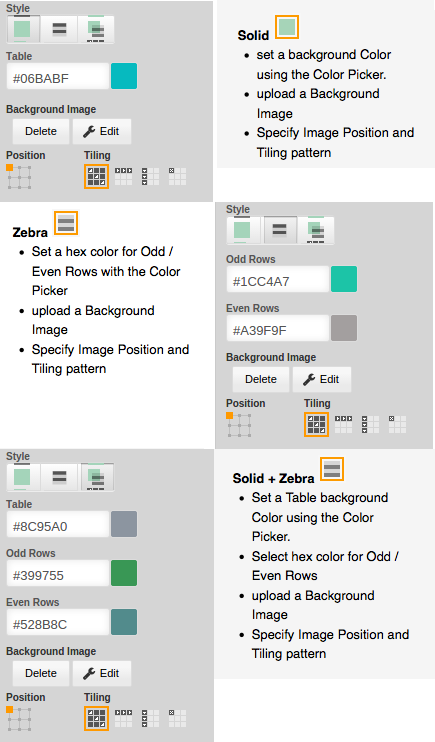
Table Background
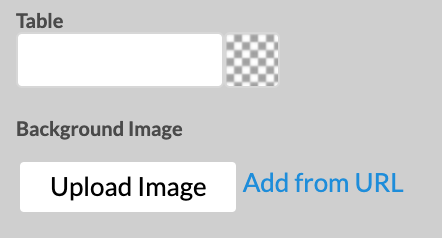
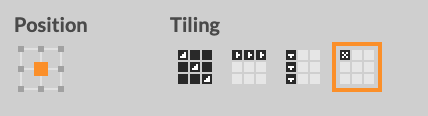
You can change the color or add an image to the background of your tables. Use the icons to adjust image starting Position within the table, as well as vertical and horizontal Tiling.
Cell Options
You can define Cell/Column Width in px. To set width for a particular column, click inside a cell and enter a value in the Width field. The sum of the px for each column should be equal to the width of the table in px.
The Cell Alignment settings are used to position content location, relative to other content in cells / columns to the right or left.
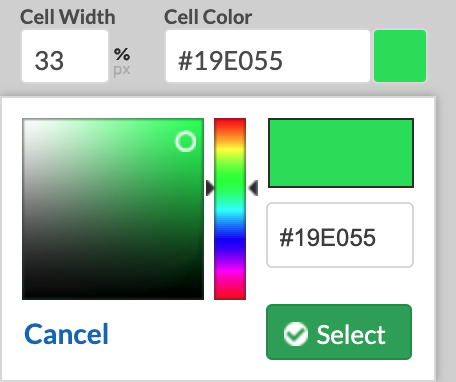
Cell Color is used to set or remove the cell background color by clicking on the Cell Color field that will open a Color Picker where you can . When you select a color, its Hex value code appears in the field. If you know the hex value of your desired color you can select the color by inputting its value there and then click on Select button. To remove the selected color, erase the hex value from Color Picker and click on select button.

You can change the Cell Color or add Background Image to a cell. Use the icons to adjust image starting Position within the cell, as well as vertical and horizontal Tiling.