Using the Text and Image editor, you can illustrate your text content with images, creating visually attractive articles and presentation pages.
To add an image click to edit:
Add or edit Text and Image element
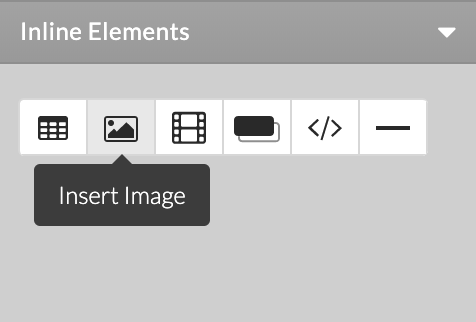
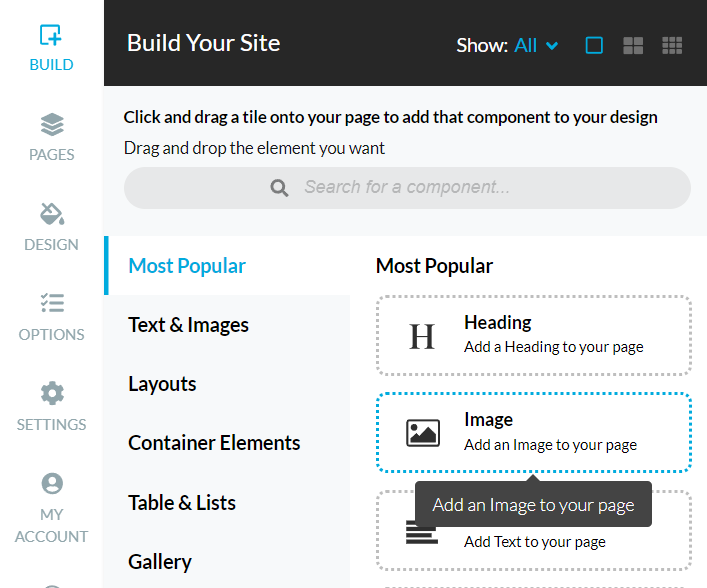
Add Image element

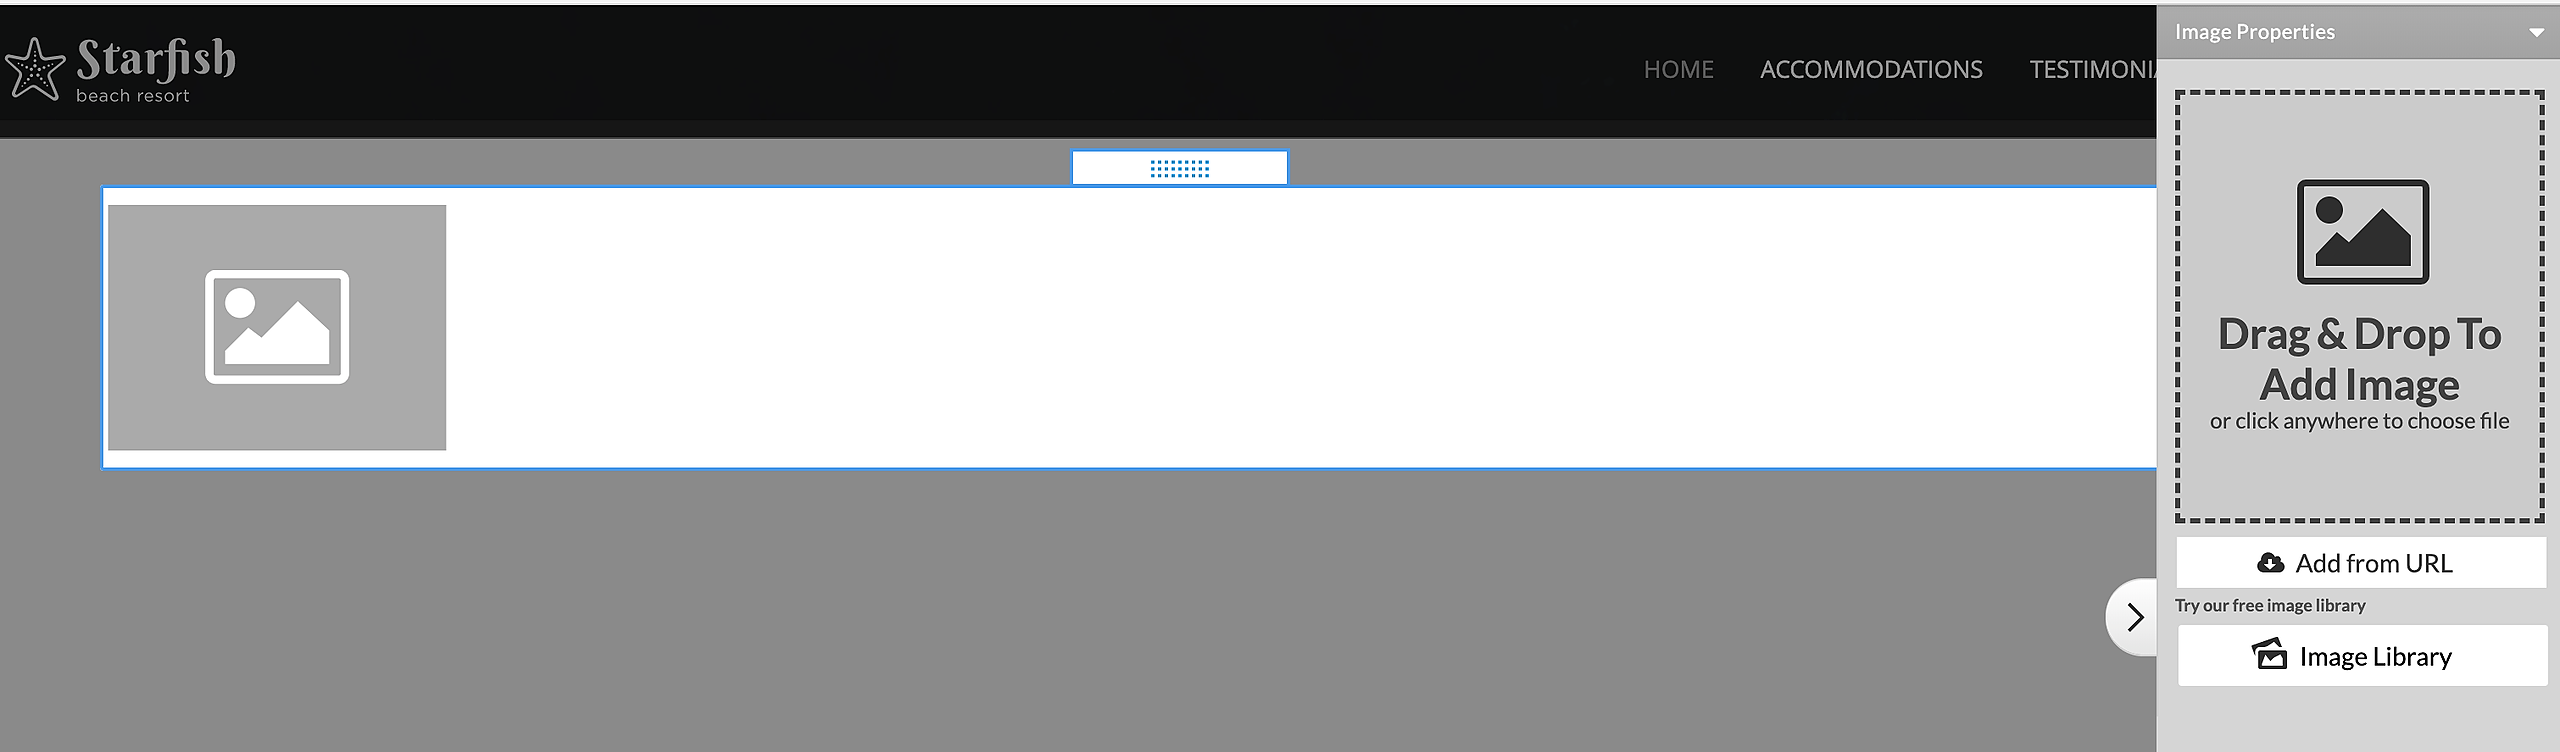
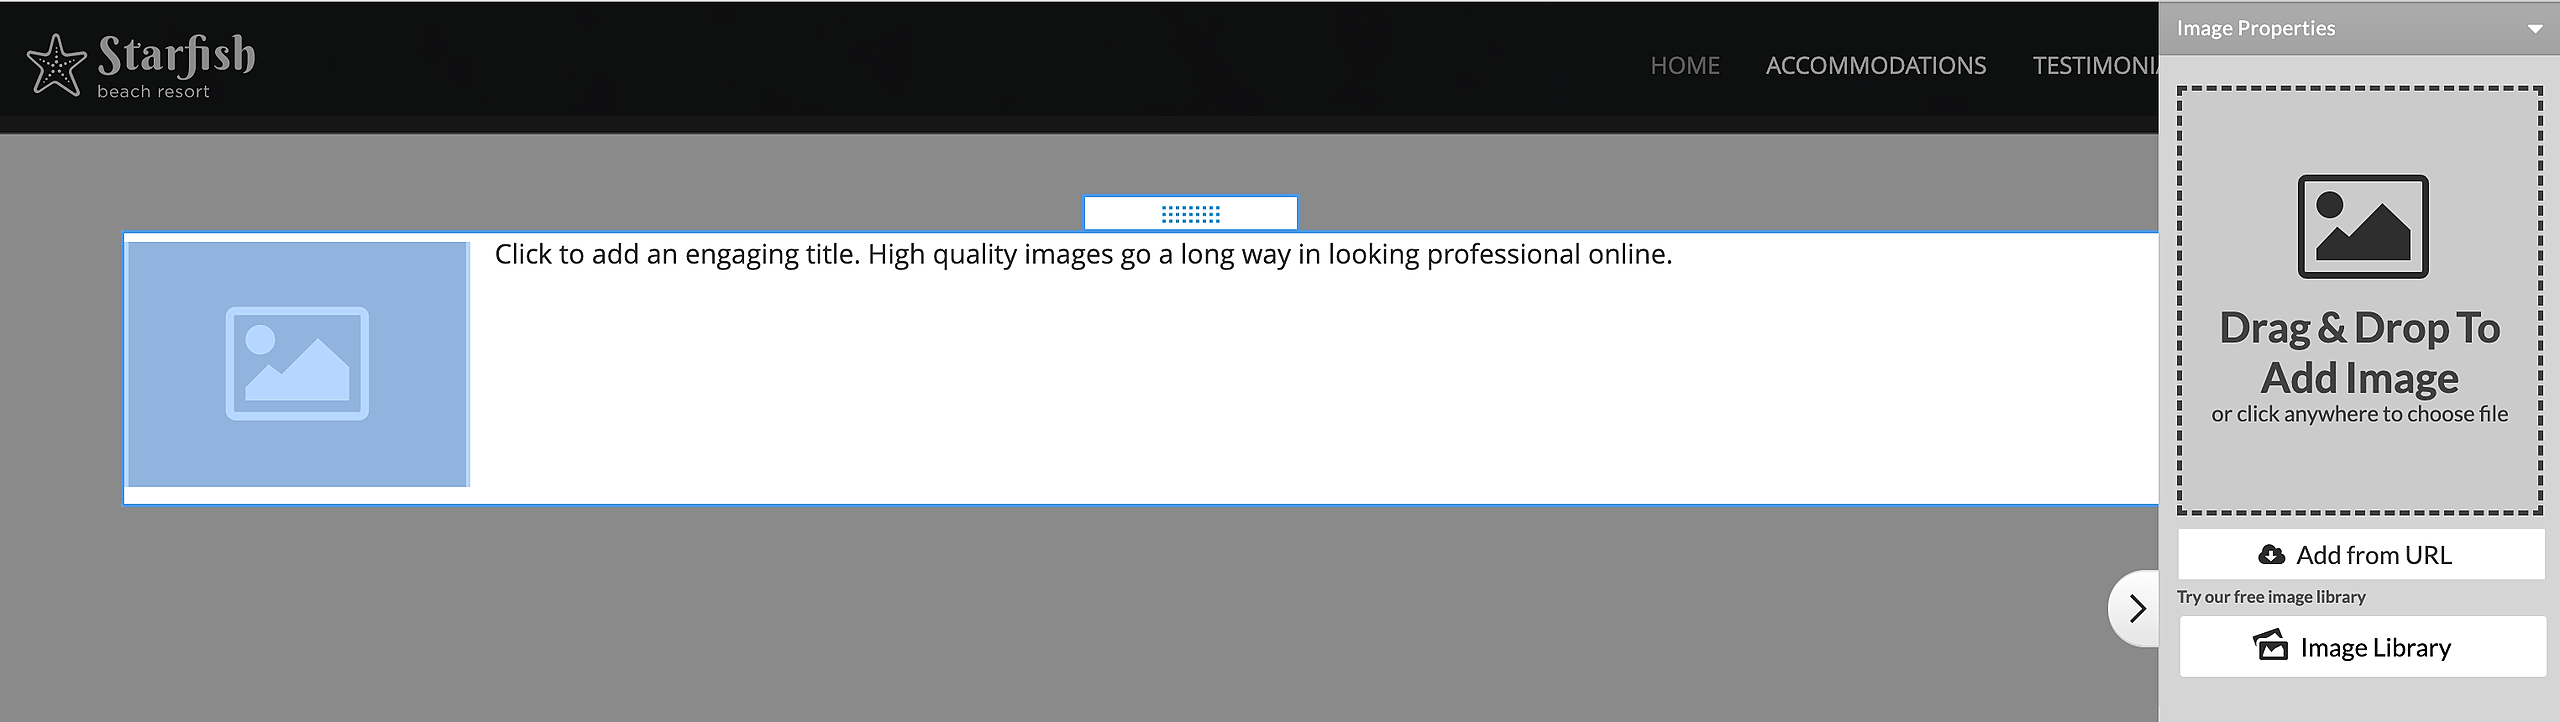
Images can be Uploaded using one of three methods.
Drag & Drop images from local folders, or other web pages into the properties panel.

Browse images from the local files on your computer by clicking inside the add image area.
Add from URL for an image published on another site. Just copy the address of the image, paste it inside the URL field and click Add Image.(Images with a pound sign "#" or a questions mark "?" in their name can only be uploaded through Drag & Drop or URL)

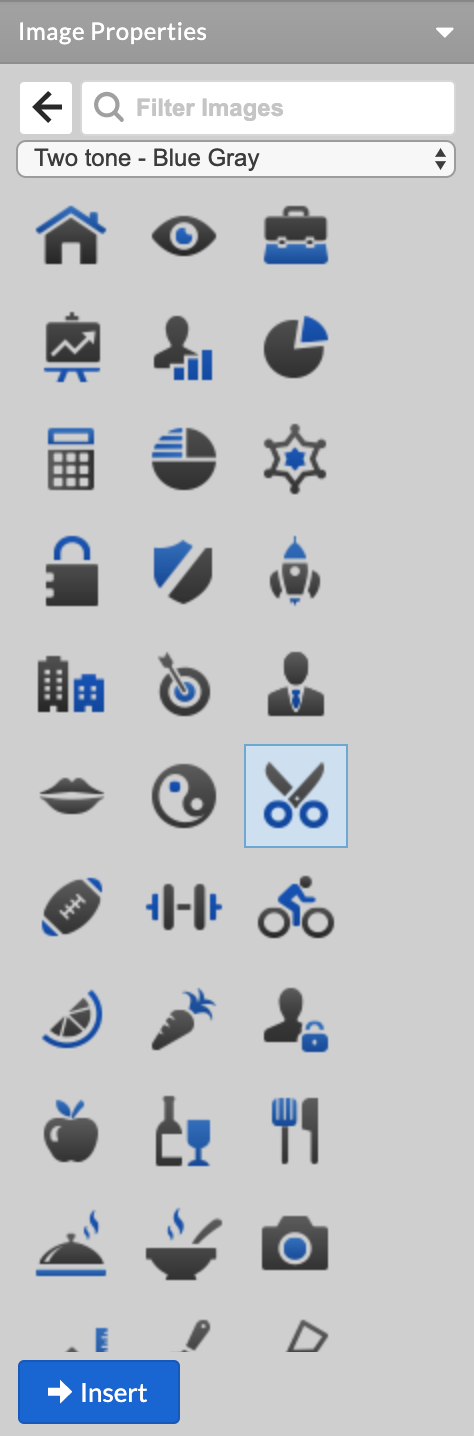
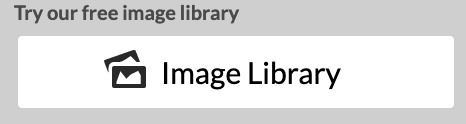
Or, switch to the Image Library tab and choose from an array of Stock images.
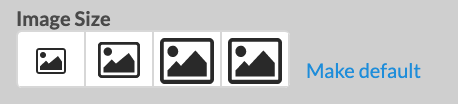
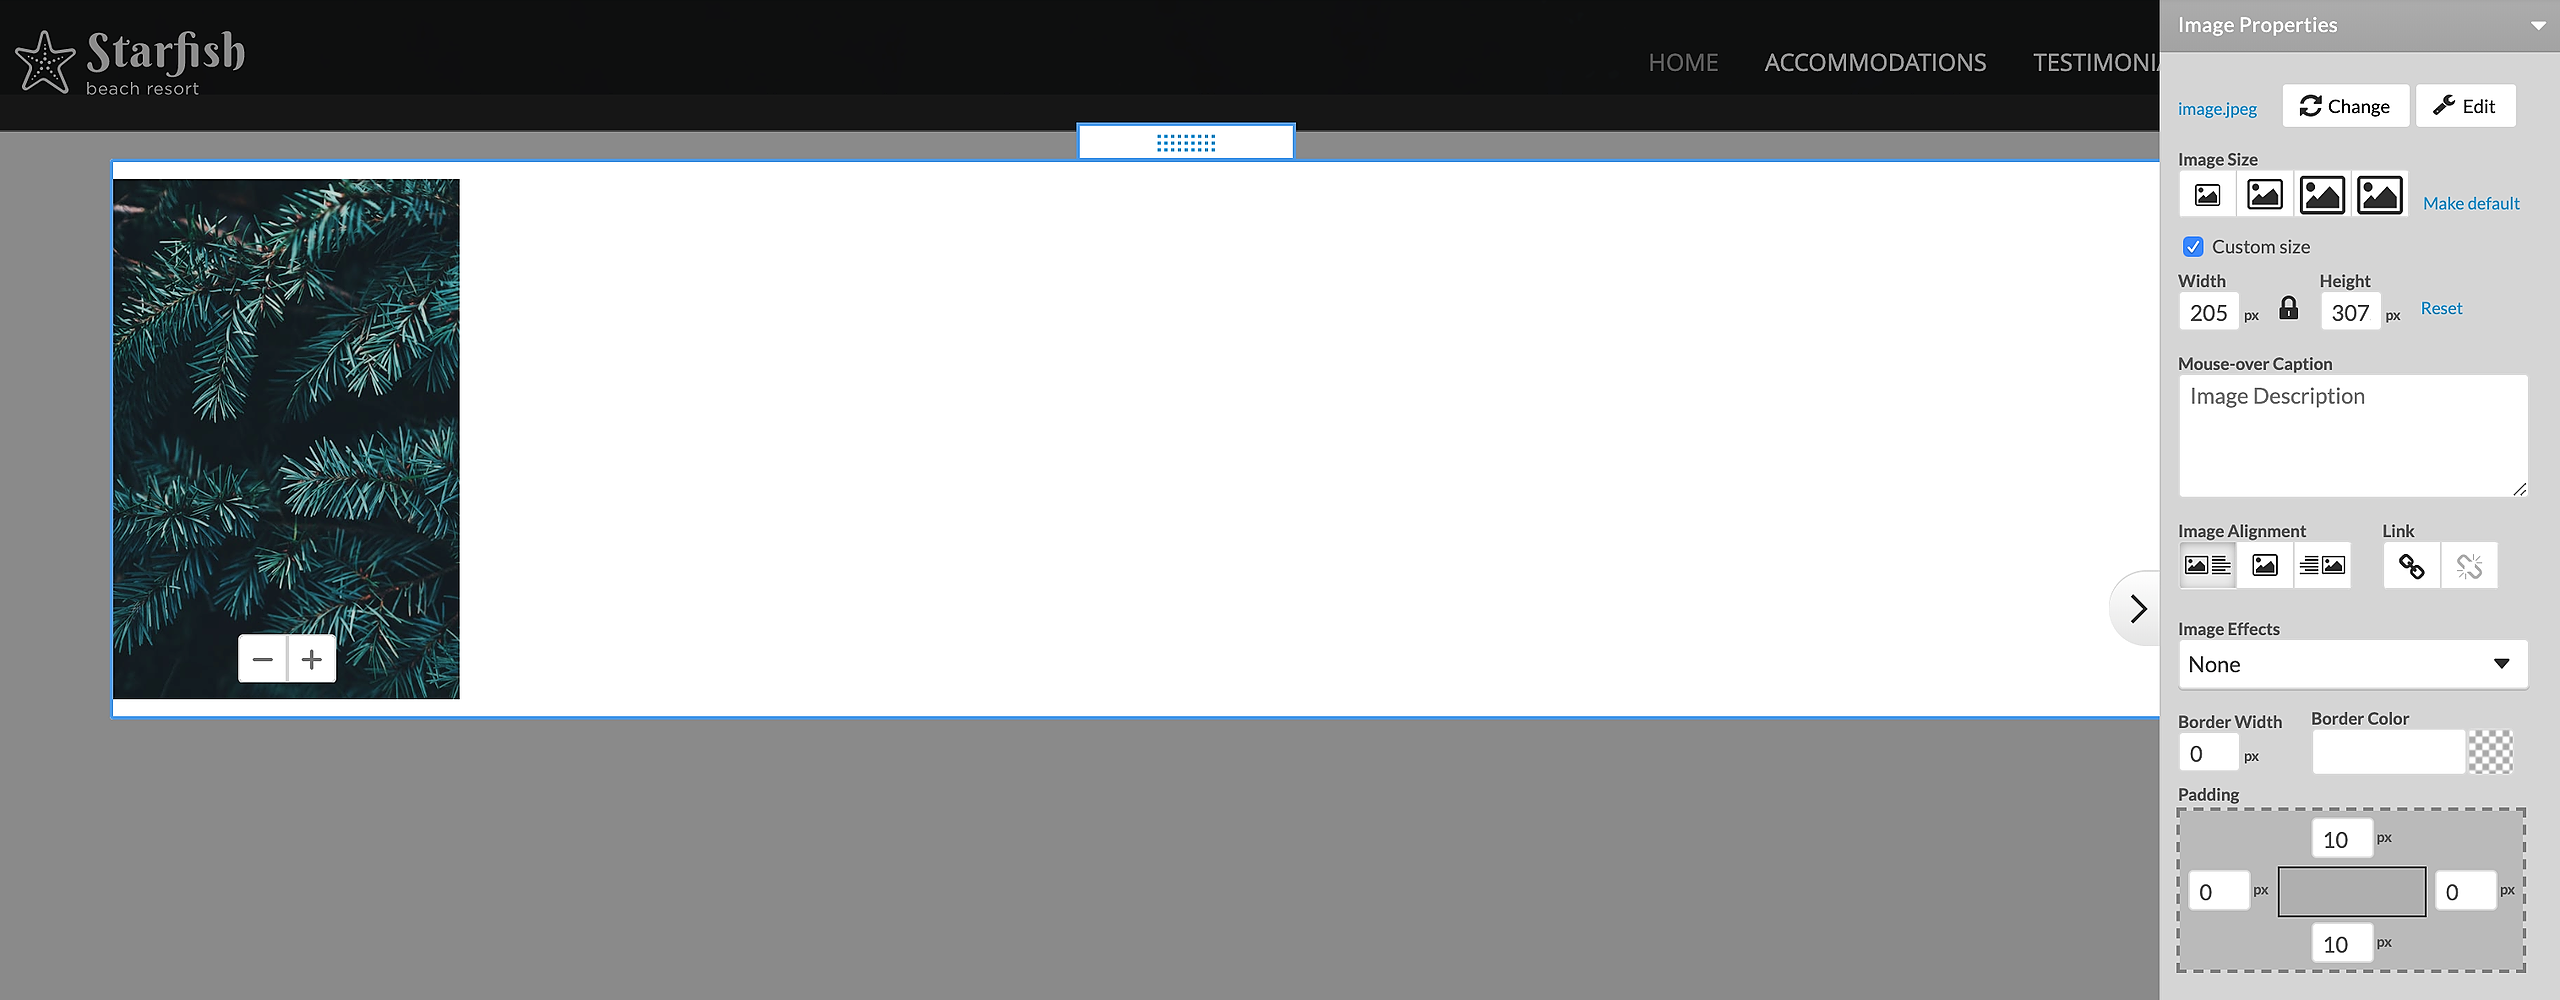
Once you upload an image it will be automatically set to the default size. Choose from 3 predefined image sizes: small, medium, large and actual, or define your own (Custom size). Even though an image may be resized, the system maintains the original image so it can be adjusted later. All resized images will appear with enhanced detail on a high resolution retina display.
Clicking on an image will provide an editing panel with options for customization, setting size, border, wrapping styles and effects will open to the right.
You can change the selected image at any time by clicking on the Change button. Choose Edit and the image will open in an external editor where you apply basic image editing such as crop, flip, rotate, resize, and limited special effects.
The Default options will allow you to set custom Image Dimensions by specifying the desired width and height. When changing size, it is recommended to click the padlock icon to constrain the image proportions and prevent distortion. e.g. When we change the width, the height will be adjusted proportionally to ensure both the ratio and perspective remain relative to that of the original image. To return an image to its original size, click the Reset link.
NOTE: Changing the width and size of an image in the editor will only scale the image to the new dimensions visually when the browser loads the page, but the image file retains its original size. To optimize larger images for faster loading, it is recommended to resize images in an external image editing program before uploading the file to the Text and Image editor.
The Mouse-over caption field allows you to specify some description text related to the image that will appear when a user places their cursor over the image. The rollover captions also have a role for the proper search engine optimization of your website, so it is recommended to add them for key images on your pages.
With the last default option, we can choose between three Image Alignment and Text Flow styles for each image.
no wrapping
left wrap
right wrap
With the Advanced Options enabled you can access additional editing options.
Adjust the Spacing Around Image in relation to the text content by specifying top, bottom, left and right padding in pixels.
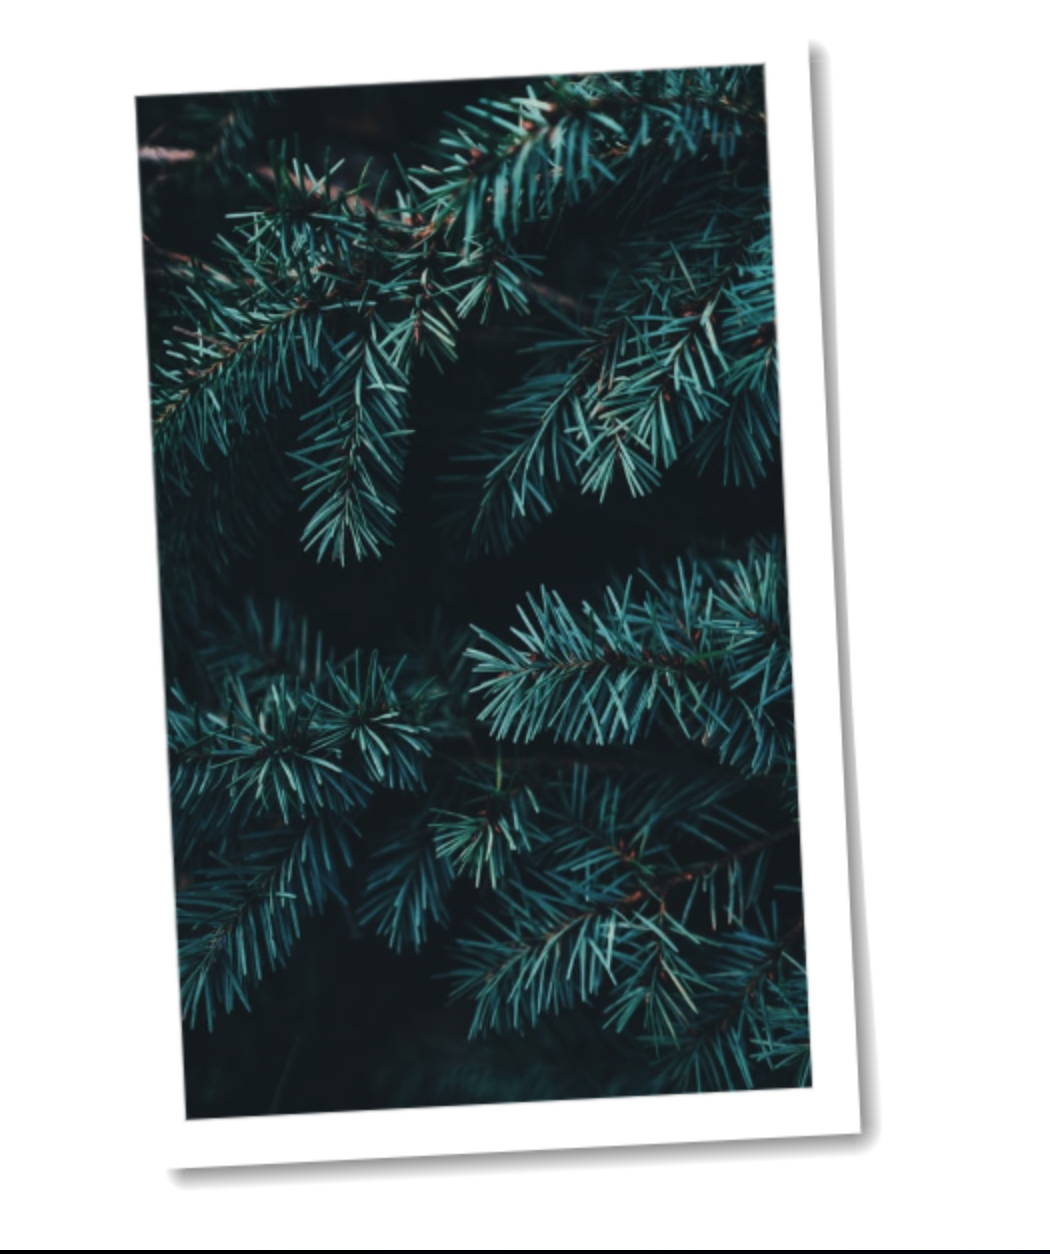
In the Image Effects section we can set Instant Photo and Reflex effects.
NOTE: Applied Image Effects will not be visible while editing. Exit edit mode to view.
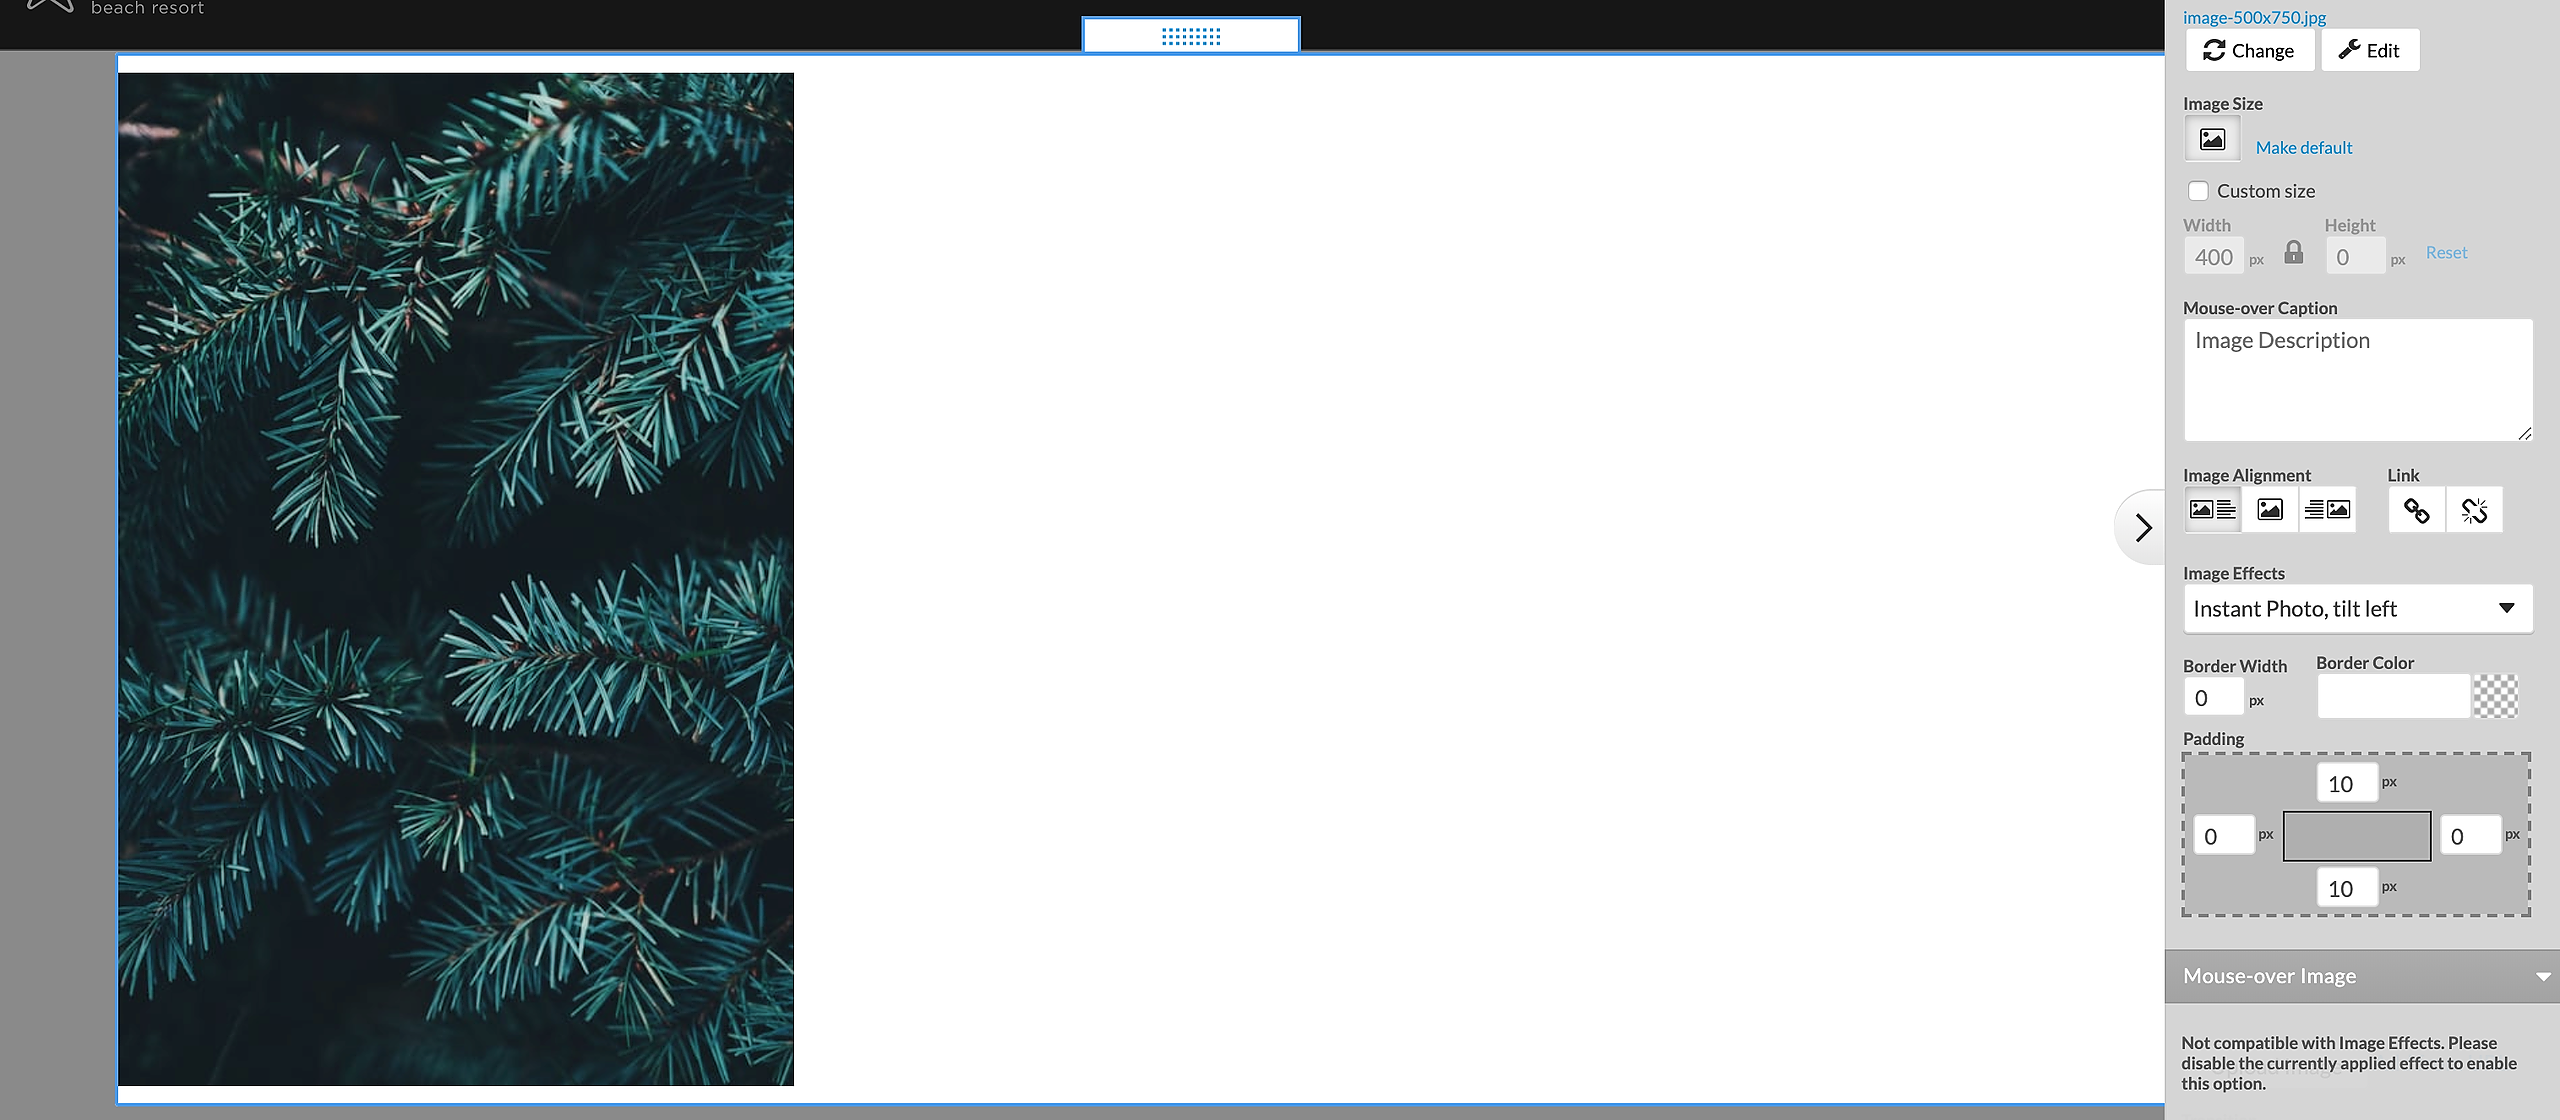
You can add a Border to your images by specifying the Image Border width in pixels and selecting the desired border color from the color icon to the right. Clicking on the border color icon will open a color toolbox where you can Apply or remove the border color.
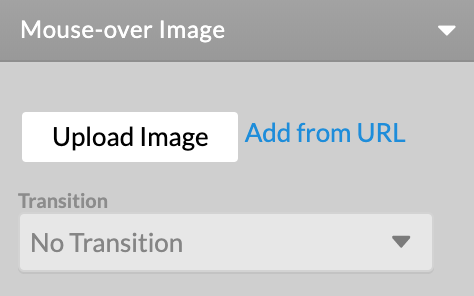
Mouse-over images add an element of interactivity to a site, and can also indicate that something will happen if the image is clicked.
Create a Mouse-Over Image with Transition effects by uploading a second image file under the Mouse-Over Image option. Once the Mouse-Over Image has been uploaded you can select from a list of Transitions to be used between the two images.
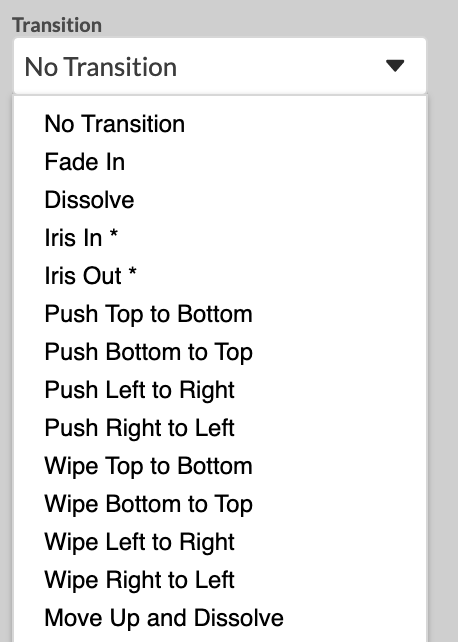
The Fade In and Dissolve effects at first glance look very similar, but there is one very important difference when they're applied to images that have transparent parts. With Fade-in the normal image remains while the mouse-over image fades-in on top and the two are combined. With Dissolve the normal image fades-out while the mouse-over image fades-in on top.
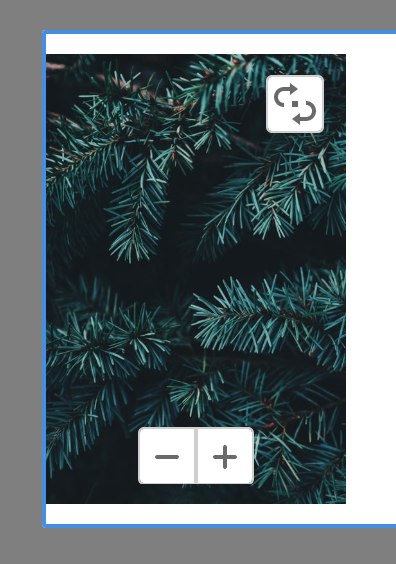
Depending on the image size you selected, controls are allowing you to adjust images right in the Text and Image Editor. You can easily crop an image and zoom into a specific area of an image without using another tool. The result will be instantly available for viewing and in the context of the page. This feature also applies to mouse-over images. The image crop and zoom feature is available when the Advanced Option are enabled, and the source image needs to be larger than the viewed image.
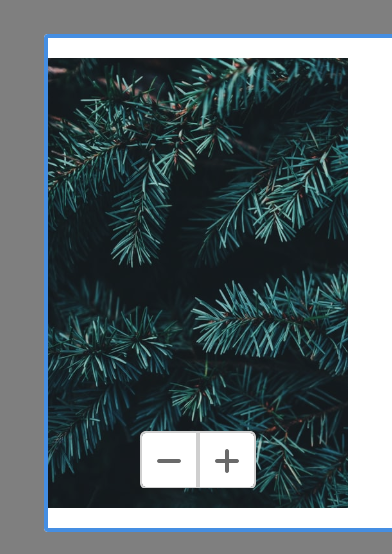
Images larger than their displayed size will reveal a zoom sliding bar when clicked, allowing you to zoom in and out, and drag and position the image within the specified dimensions. This makes it easy to focus on a specific area as displayed in the example below. Images with a mouse-over variation will display a switch icon at the top right corner when selected. Clicking the icon will enable the complete editing options for the mouse-over image.
Click outside the Text and Image editing area to apply the changes on the page.
NOTES: Instant Photo and Reflex effects are not compatible with the Mouse-Over Image option.
Transition Effects & Browser Compatibility:
1. The "Iris" transition will show rectangles instead of circles in IE7/8.
2. Safari/Chrome users may observe a jump of the Mouse-over image during transition.